Wall-E Papercraft 2014

Download
Papercraft Optimus Prime Transformers 4, Evasion Mode

Descargar - Download
Papercraft Optimus Prime Battle Damaged

Scrat Papercraft (Ice Age)

viernes, 28 de noviembre de 2008
jueves, 27 de noviembre de 2008
Galeria de Fotos Final / Final Photo Gallery
Here we can see the assembly and join of different pieces that we have been arming and painting. Well with this gallery, and after having spent nearly 5 months! we finish construction, so I can see MY CARDBOARD WALL-E complete and from different angles. I hope you have enjoyed until now the whole process of its construction and I invite you to leave me your comments. The hope in future proyects !


Galeria de Fotos #4 / Photo Gallery #4
En esta galería veremos el proceso de pintura y armado del cuello y la cabeza.
Aquí usaremos una técnica similar a la de las ruedas del tren impulsor, envejecemos y ensuciamos sobre una base de pintura metálica.
In this gallery we see the process of painting and assembly of the neck and head. Here we use a technique similar to that of the wheels of the drivetrain, age and soil on a base of metallic paint.
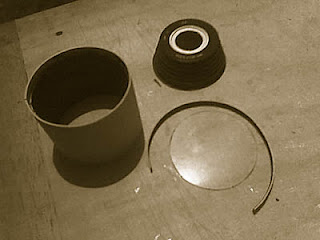
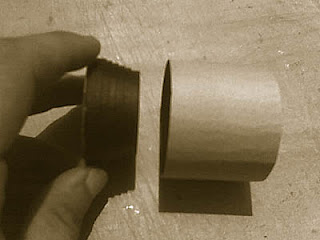
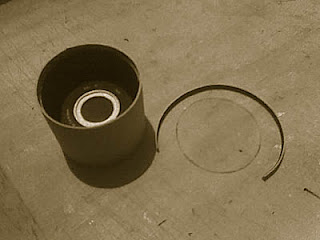
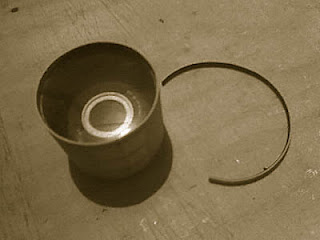
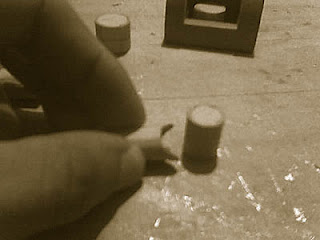
Galeria de Fotos #3 / Photo Gallery #3
Seguiremos usando las técnicas anteriores.
domingo, 2 de noviembre de 2008
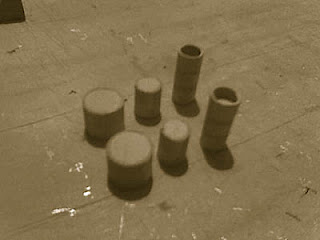
Galeria de Fotos #2 / Photo Gallery #2
En esta galería podrán ver el proceso de pintura del cuerpo y sus componentes.
Siguiendo el método de las fases de pintura, explicado anteriormente, primero pintamos cada parte del cuerpo con los colores correspondientes, luego comenzaremos a pintar las ralladuras y demás imperfecciones, y por ultimo lo “ensuciamos” dándole un aspecto de deterioro y corrosión general.
In this Gallery you will see the process of painting the body and its components. Following the all of the stages of painting, explained, the first paint each body part with the colors, and then begin to paint scratch and other imperfections, and ultimately give an aspect of deterioration and rusty general.
domingo, 26 de octubre de 2008
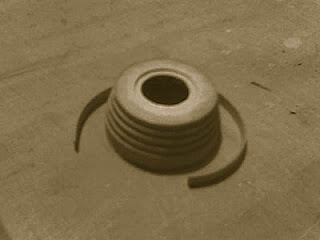
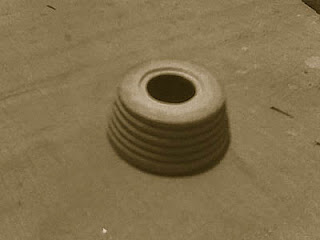
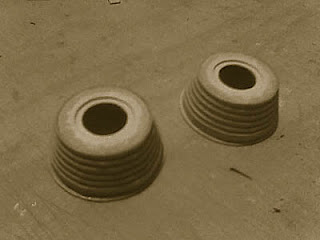
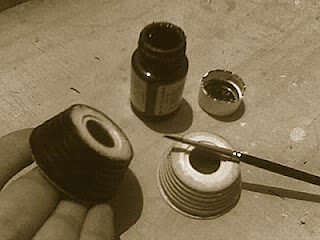
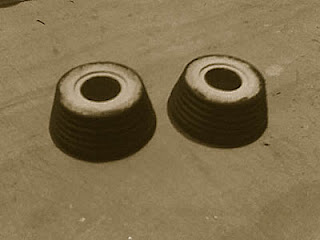
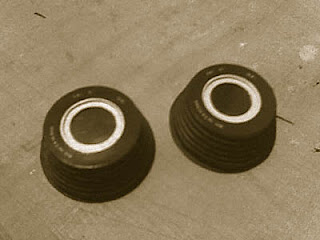
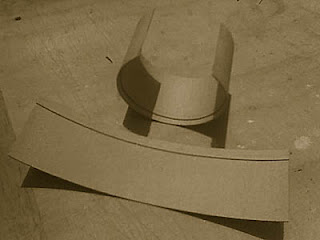
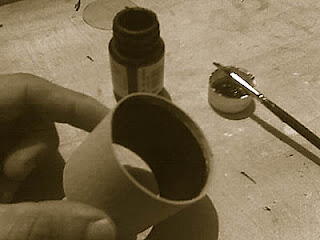
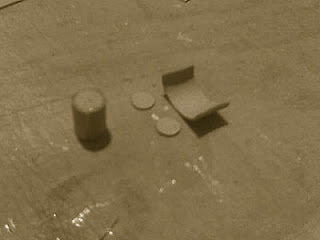
Galeria de Fotos #1 / Photo Gallery #1
Aquí les dejo la primera galería de fotos donde pueden ver el proceso
de pintura y acabado para el tren impulsor u orugas.
La técnica básicamente consiste en 3 fases:
La primera consiste en pintar las piezas en sus correspondientes colores
, en este caso utilice metalizado y naranja oxido.
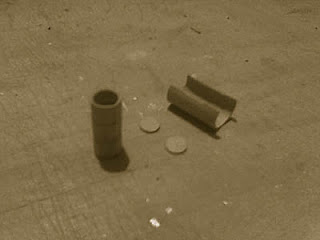
La segunda fase es la de envejecimiento, aquí simulamos gastadoras,
abollones, rayones, etc.
La tercera fase es la de ensuciado la que combinaremos con la fase 2,
aquí utilizamos la técnica pincel seco (técnica en la cual resaltamos
relieves y manchas con el pincel casi sin pintura) para darle un aspecto
mas deteriorado por el paso del tiempo.
lunes, 20 de octubre de 2008
Plano General / General Plan


Algunos detalles / Some details
First they leave the logo on the wall-e size 1:1 and a cardboard cut to less than 1mm. Is printed on paper and then passed to the cardboard, cut the letters and glue it, in front of the body, according to the plans.
Second are the logos of buy and large (BnL) using the same process as the logo of wall-e, but this look with a variant glue the logo upside down on another cardboard for a stamp, these are for the wheels, see photos,
In both cases print the images without change dimensions.


Plano Montage Cabeza / Head Assembly Plan
lunes, 22 de septiembre de 2008
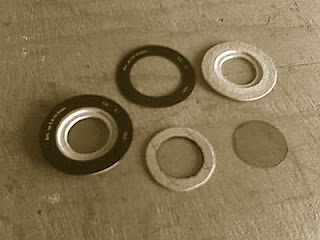
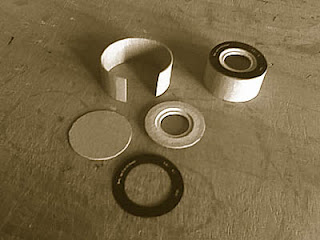
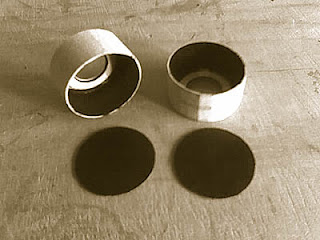
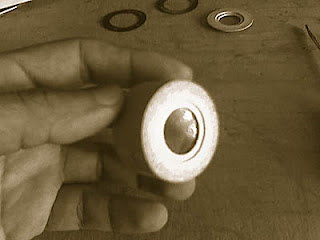
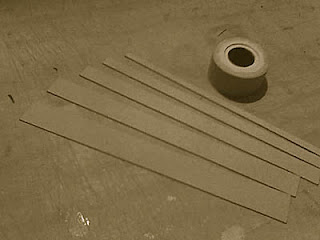
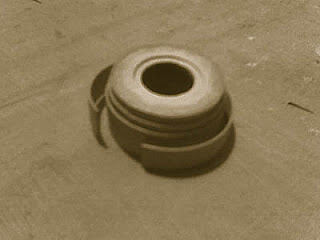
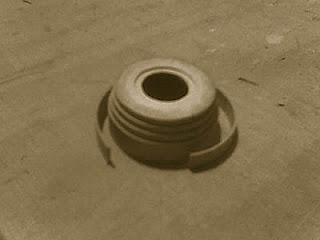
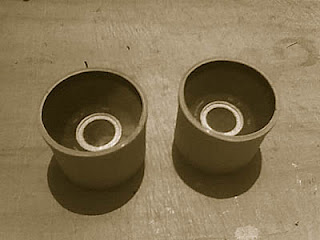
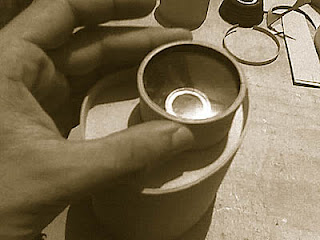
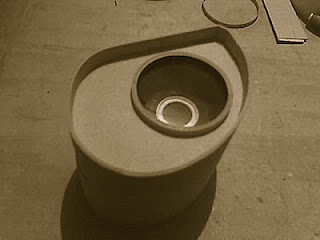
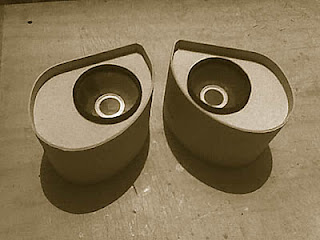
Cabeza-Parte 4 (lentes y capuchones) / Head-part 4 (lens & hoods)


